So thank you Lisa for sending me the example and letting giving me a reason to play!!! LOL
To start with I choose a fairly neutral background (one without a lot of patterns on it will usually work best!) And I grabbed a photo that had some edges around it that could be erased.
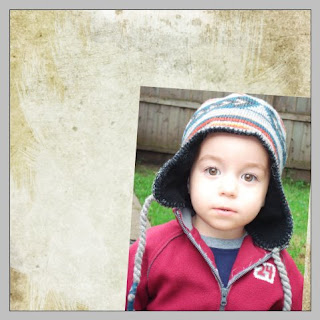
Next I run through my blend modes (these are found on the layers palette)
While your photo layer is highlighted in the layers palette, choose a blend mode that you like. (I will show you a few different samples.
First here is the photo set to MULTIPLY
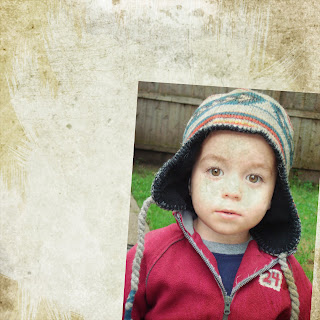
This one is SOFT LIGHT and I have duplicated the photo 3 times
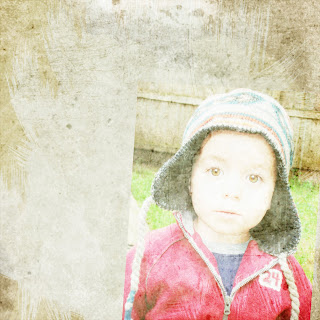
THis is a combination of the 2. I have taken the photo and set it at SOFT LIGHT 3 times and then the top layer is set on MULTIPLY at an opacity of 20%.
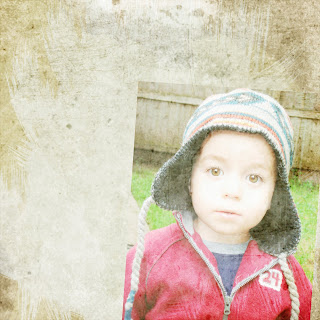
Now if you are just using ONE photo layer then you can skip the next step. If you have choosen to do more than one photo layer like me. Then hit your GROUP button in your photo layer (looks like an empty file folder). This will add a GROUP to your layers palette. Then hold down your shift key and on the layers palette select all your photo layers and drag them into your folder layer. Your photo layers will now be indented in your layers palette because they are part of a group.
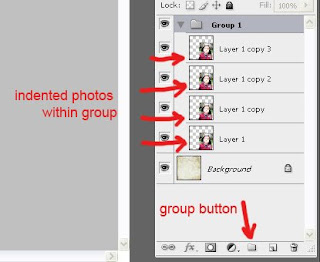
While your group folder is highlighted in your layers palette, go to LAYER>LAYER MASK>REVEAL ALL
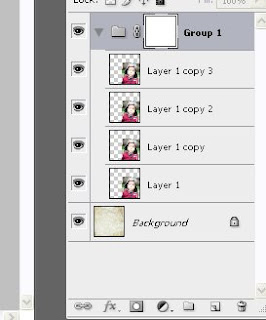
Now while sitting on your layer mask. Choose your paint brush tool and choose a large soft brush (I am using a size of around 400, at an opacity of 100 and my paint color is black.) Where ever you paint BLACK on your mask your photos will NOT show through, these areas will be MASKED. Where ever your layer mask is WHITE these areas will show. Paint along the edges of your photo, reducing the opacity of your paint brush as needed to create a soft edge between your photo and the paper. Reducing the opacity and progressively working your way into the center of the photo will help create a smooth transition. This takes time and practice to master. Keep trying!! If its not right the first time. Delete your layer mask and start again! That is the great part of layer masks, your photos stay intact!!!
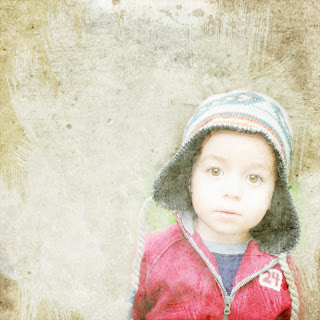
Here is a after a few minutes of painting on the black and reducing the opacity as I get closer to the edges of his body.
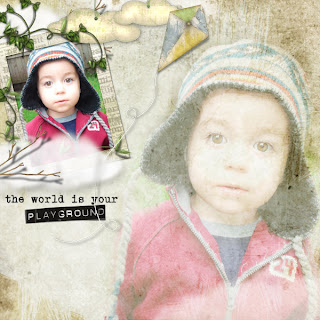
Here is after I have added some elements and reduced the opacity of the blended photo group.
Hope you enjoyed the tutorial! Be sure to share the link with me in the comments section if you try it so I can see your work of art!!!!
Happy Scrapping!!!! Mwaaahhhhh!!!!


7 comments:
Nicole, I love your tutorials. They are so practical for someone just learning what everything does (like me!) I could try reading it in a book but seeing how it works for scrapbooking makes it come alive! Thanks again and keep them coming :)
Thank you so much for sharing that information.. I have always wanted to try that.
thanksfor your tuts, I really like your stuff! here´s a page i made with some of your stuff: http://www.faithsisters.com/photopost/showphoto.php/photo/31362/ppuser/1427
thank you for sharing sharing this! i have been wondering for long how to create such effect...thanks again!
Thanks for this, Nicole! I've been wanting to explore the world of Layer Masks for a while. Just needed a little push!
Thanks Nicole! Here is my first try.
http://www.digitalscrapbookplace.com/gallery/showphoto.php?photo=303372&ppuser=134911
I love your tutorials. Here's my try at it:
http://www.digitalscrapbookplace.com/gallery/showphoto.php?photo=303529&ppuser=140453
Post a Comment