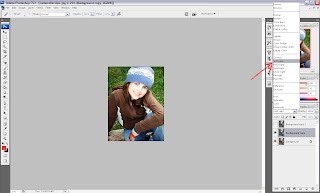
I start with my photo straight out of camera.

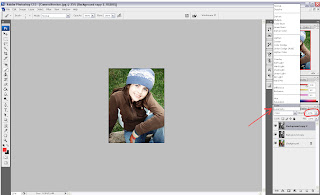
Duplicate the photo.
Now we are going to apply a black and white effect to the duplicated layer.
Image> Adjustments> Black and White

I don't change the bar slides a whole lot. This will depend on your photo. But just hitting ok, will usually be ok. Now you should have a black and white photo on top of a color photo.
Duplicate your black and white layer and turn off your top black and white layer for the moment. We will be working with that layer shortly.

On your middle layer (between the turned off black and white and your colored photo) turn your blend mode to Soft Light. This will enhance the darkness and lightness of your photo!

Turn on your top layer and change your blend mode to COLOR and adjust your opacity to about 20-25%.

Thats it!!! This will enhance your photo to give it a crisper, more dramatic feel!!!


2 comments:
Wow I was just trying out your photo-tutorial and it really is amazing what it does to the photos, thank you so much Nicole.
Thanks for sharing your recipe! Simple enough, I'll give it a try soon.
Post a Comment